How to Read a Cross-Stitch Pattern: A Complete Beginner's Guide
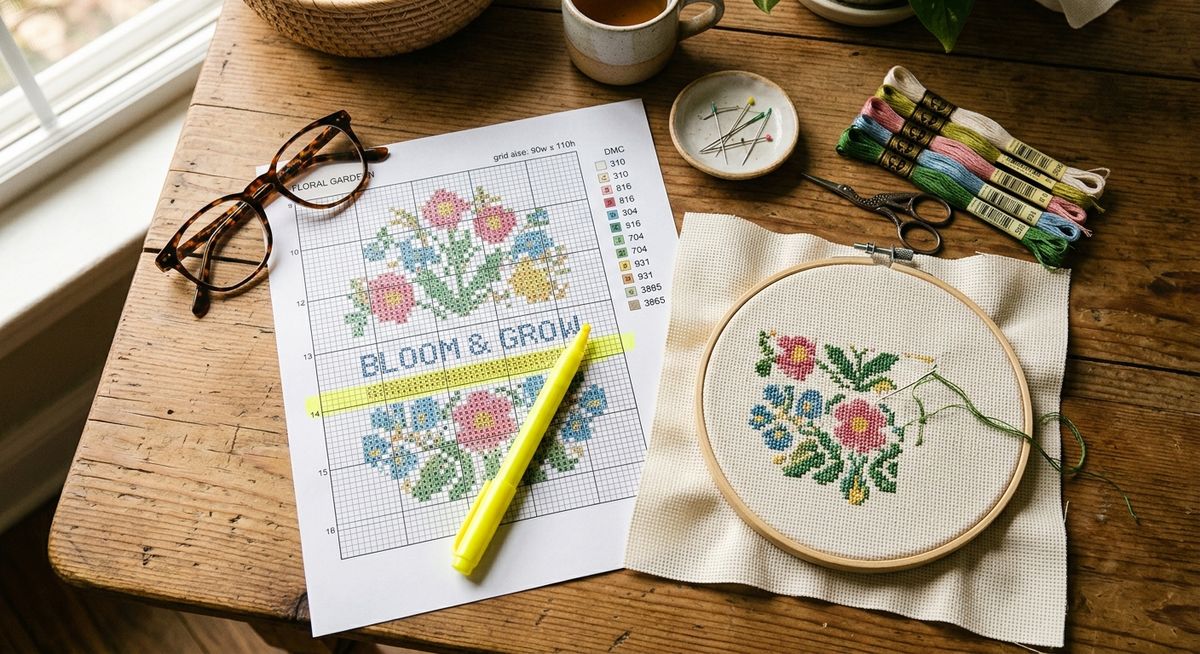
A cross-stitch pattern is essentially a map. The grid is the terrain. The symbols tell you what goes where. The color key translates those symbols into the actual thread you’ll be stitching with. Once you understand how to read that map, any pattern — from a five-color beginner sampler to a 150-color realistic portrait — uses exactly the same system.
Here’s how to decode it.
The Grid: Your Coordinate System
Every cross-stitch pattern is printed on a square grid. Each small square on that grid represents one cross-stitch on your fabric. One square = one X.
Most grids are divided into sections of 10x10 squares, with slightly bolder lines marking the boundaries of each section. This is a navigational aid — counting in groups of 10 is much easier than counting a 200-square-wide pattern from scratch every time you lose your place.
The grid mirrors your Aida fabric directly. On 14-count Aida, each square on the grid corresponds to one intersection of the weave — one “hole” in each corner, one stitch in the center. A grid that’s 50 squares wide will produce a design that’s 50 stitches wide on your fabric, which on 14-count comes out to about 3.6 inches.
Orienting Yourself on the Grid
Most patterns mark the center of the design, usually with arrows on two sides pointing inward, or with the intersection of two dotted lines. Starting at the center (more on that later) means the arrows point you to where your first stitch goes.
If a pattern doesn’t mark center, find it yourself: count the total width and height in stitches and divide each in half. Mark that point with a pencil on your fabric.
The Color Key: Translating Symbols to Thread
Each pattern has a color key — a table that maps each symbol used on the grid to a specific thread color. This is the most important reference document in your project, and you’ll go back to it constantly.
A typical color key entry looks like this:
| Symbol | Thread Number | Color Name | Strands |
|---|---|---|---|
| ■ | DMC 310 | Black | 2 |
| ▲ | DMC 321 | Christmas Red | 2 |
| ○ | DMC 747 | Very Light Sky Blue | 2 |
The symbol appears on the grid. The thread number tells you which skein to reach for. The color name helps you double-check (especially if your skeins are already labeled). The strand count tells you how many of the six strands in the floss to use — usually two for full cross-stitches on 14-count.
A Note on DMC vs. Anchor Numbering
Pattern color keys use either DMC or Anchor thread codes — and the two systems are completely different. DMC 321 is a classic Christmas red. Anchor 9046 is also a classic Christmas red. Both are labeled as their respective brand’s number, and you cannot swap the numbers between brands.
If a pattern is written in Anchor codes and you only have DMC — or vice versa — you need to convert each color. That’s exactly what the conversion pages on this site are for. Look up DMC 321 Christmas Red or DMC 310 Black to see their Anchor equivalents (and Madeira, Cosmo, and Sullivans matches). Conversions are approximate — brands don’t always have identical colors — but for most projects the match is close enough.
If you’re not sure which brand a pattern uses, look at the numbers. DMC numbers run from 3 to 5212 (mostly 2–4 digits). Anchor numbers follow a different range. Most modern US and European patterns specify the brand in the header or color key; if they don’t, a quick search of the pattern name usually clarifies it.
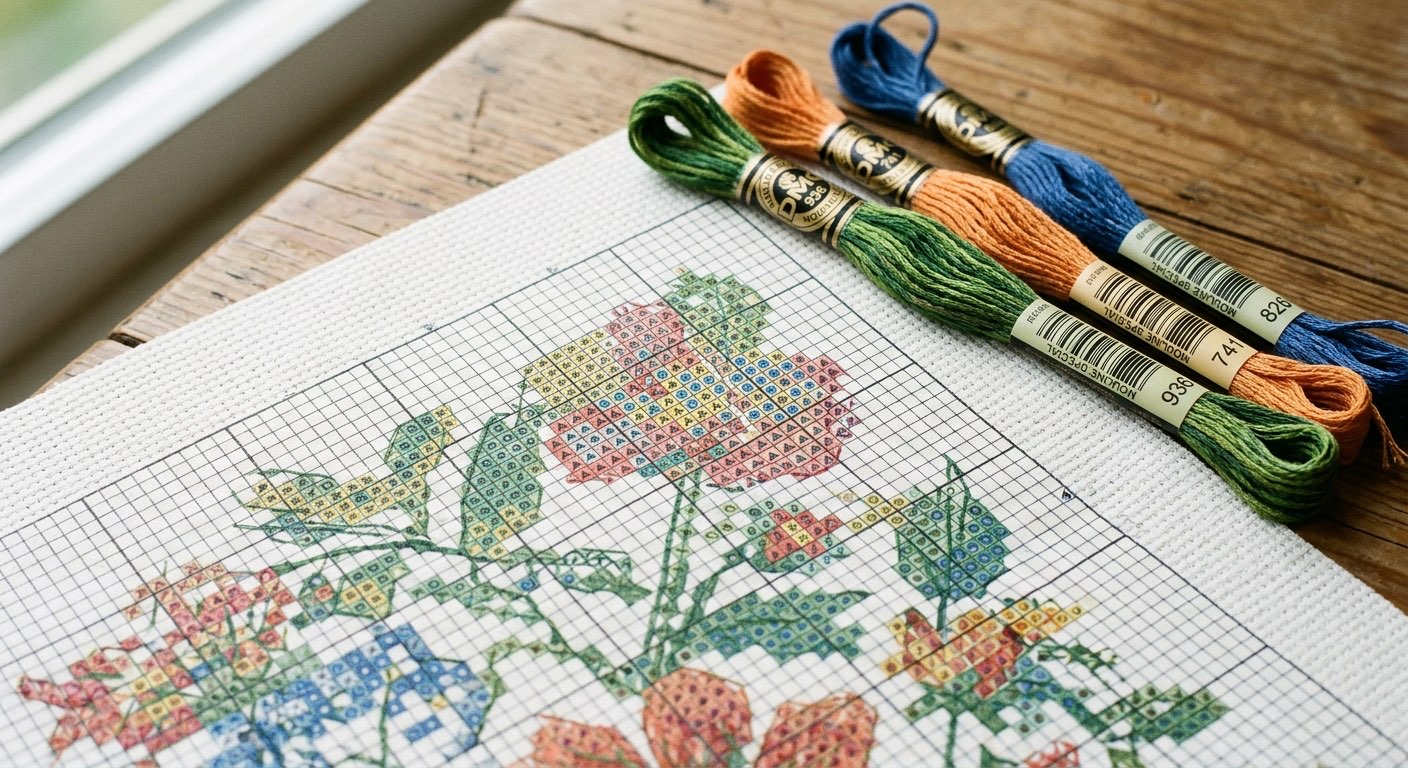
Reading the Grid: Symbols and What They Mean
Every square with a symbol gets a stitch. Empty squares are blank fabric — intentional negative space or the background.
For most patterns, the rule is simple: if there’s a symbol, make an X. The symbol itself doesn’t change how you make the stitch — it just identifies the color.
A few things to know:
Dark borders on symbols matter. Some patterns use outlined squares (a symbol with a dark border) to indicate the same color used for backstitch outlines. The solid fill tells you “full cross-stitch here,” and the outline on adjacent squares tells you “backstitch around this area in this color.” Look at the key — it’ll distinguish between full cross-stitches and backstitching symbols.
Quarter and three-quarter stitches are usually marked differently. A symbol that fills only part of a square — or one drawn diagonally — indicates a fractional stitch. More on those below.
Identical symbols in adjacent squares are the same color. You don’t have to re-read the key for every single square. Scan the grid for clusters of the same symbol and you’ll see the natural blocks of color that make up the design.
Backstitch: The Lines That Define Everything
Backstitch is a separate layer from the cross-stitching. It’s the outlining, the fine detail, the lettering — the part of a finished piece that makes it look sharp rather than soft-edged.
In most patterns, backstitch instructions are shown in one of two ways:
-
Solid lines drawn over or between squares on the grid. These lines follow the grid’s intersections (the corners of squares). A line running along the edge of a row of squares means backstitch along that edge, in the color indicated.
-
Separate backstitch color key entries. Backstitch colors are usually listed separately in the color key, often distinguished with a line symbol rather than a square symbol.
Backstitch is always done after all the cross-stitches are complete. Stitching in order — all cross-stitches first, backstitch last — keeps the outline crisp and prevents the underlying stitches from disrupting your line.
The most commonly used backstitch color in most patterns is DMC 310 Black — used so universally for outlining that some stitchers keep a dedicated bobbin of it in every project kit. But it’s not always black. Patterns for botanical and floral designs often use DMC 3371 Black Brown instead, which gives a softer outline. Skin tones in portrait work are usually outlined in a brown that matches the skin palette rather than hard black.
Fractional Stitches: Quarter, Half, and Three-Quarter
Fractional stitches let a design use diagonal lines and curves that would otherwise look jagged on a grid. Instead of a full X, you make a partial cross that occupies only half or one corner of a square.
Half stitch: One diagonal bar of the X, from one corner to the opposite. Some patterns use this for shading effects.
Quarter stitch: One leg of the half-stitch — from one corner to the center of the square.
Three-quarter stitch: The most commonly encountered fractional stitch. One full half-stitch plus one quarter stitch from the opposite corner to the center. On the grid, this usually looks like a symbol that partially fills a square, often with a diagonal mark. It’s used when a design color needs to cover three corners of a square (with the fourth corner belonging to another color or being blank).
Three-quarter stitches are what make curved edges look smooth rather than stepped. A circle on a chart looks like a staircase of full squares at the edges; three-quarter stitches in those corner squares smooth the optical transition.
On Aida fabric, three-quarter stitches require pushing the needle through the center of a square intersection — between the fabric threads rather than through a hole. This takes a bit of practice. A slightly larger needle than normal (try a #22 tapestry needle instead of #24) can help on 14-count fabric.
Where to Start Stitching
There are two schools of thought: center outward, or top-left corner downward.
Center outward is the traditional method and works best for most beginners. Find the center of the design on the chart and the center of your fabric (fold it in quarters to find the intersection), and start your first stitch there. Working outward from center means you’ll never run out of fabric on one side because you miscounted your starting position.
Top-left corner is sometimes preferred by experienced stitchers who use parking or cross-country methods. You work through the design in a systematic pass rather than bouncing around. This works well for experienced color management but is harder to recover from if you miscounted your start.
The safest advice for beginners: start at center. Mark the center of your fabric with a small water-soluble pen mark or a thread basting stitch, align it with the center mark on your chart, and begin there.
Managing Multiple Colors: Parking vs. Color Blocks
Once you have more than a few colors, you need a strategy for moving between them without constantly rethreading.
Color blocking means completing all of one color in an area before moving to the next color. You work through the design one hue at a time — all the greens, then all the blues, then the blacks. This means more starts and stops but fewer needles in the fabric simultaneously.
Parking means threading multiple needles with different colors and leaving each one “parked” in the fabric near where you’ll need it next. As you work across a row, you pick up each color as needed and leave the others hanging. This reduces re-threading dramatically but requires good needle management and isn’t suitable for beginners just getting the hang of the stitches themselves.
Most beginners do something in between: finish small areas of one color, then move to the next, rather than doing the full design one color at a time. Trust whatever system keeps you stitching consistently. The “right” method is the one that matches how your brain works.
Working from a Printed Chart vs. a Digital One
Printed charts have the advantage of never running out of battery. Write on them freely — circle your place, highlight completed sections with a colored pencil, mark where you left off. A bright yellow highlighter through completed rows is an old-school but effective tracking method.
Digital charts (viewed on a tablet or phone) let you zoom in, which is a genuine advantage on dense patterns. Many cross-stitch software apps also let you check off squares as you complete them, which auto-highlights progress. If you stitch from a phone or tablet regularly, a screen stand or clip mount is worth having.
Either way, the grid is the grid. The same counting and orientation skills apply.
Common Mistakes (and How to Avoid Them)
The top stitch goes the wrong direction. In a completed X, the top diagonal should always go in the same direction — consistently either bottom-left to top-right, or bottom-right to top-left. It doesn’t matter which you choose; it matters that every X in the piece matches. Inconsistent top-stitch direction creates a subtle texture inconsistency that’s visible in finished pieces, especially in large areas of solid color.
Losing your place on the grid. This is the most common problem and has a simple solution: use a magnetic board with a ruler, or print your chart at a larger size. Squinting at a tiny printed chart with a 0.4mm pencil dot marking your place is a reliable path to miscounting.
Starting too close to the edge. Forgetting to leave a margin on your Aida is painful. A minimum of 3 inches on every side is the rule — more if you plan to frame. Starting too close to an edge with no room to recover is one of the most common beginner mistakes.
Not checking color conversions before shopping. If a pattern is written in DMC but you want to substitute Anchor — or your local shop is out of a key color — look up the conversion for that specific color before assuming the closest guess is right. Browsing our color categories to see a color’s full cross-brand profile takes a minute and can prevent a trip back to the shop. Even common colors like DMC 796 Dark Royal Blue have Anchor equivalents that are close but not identical — knowing the match quality ahead of time matters.
One Pattern, Many Outcomes
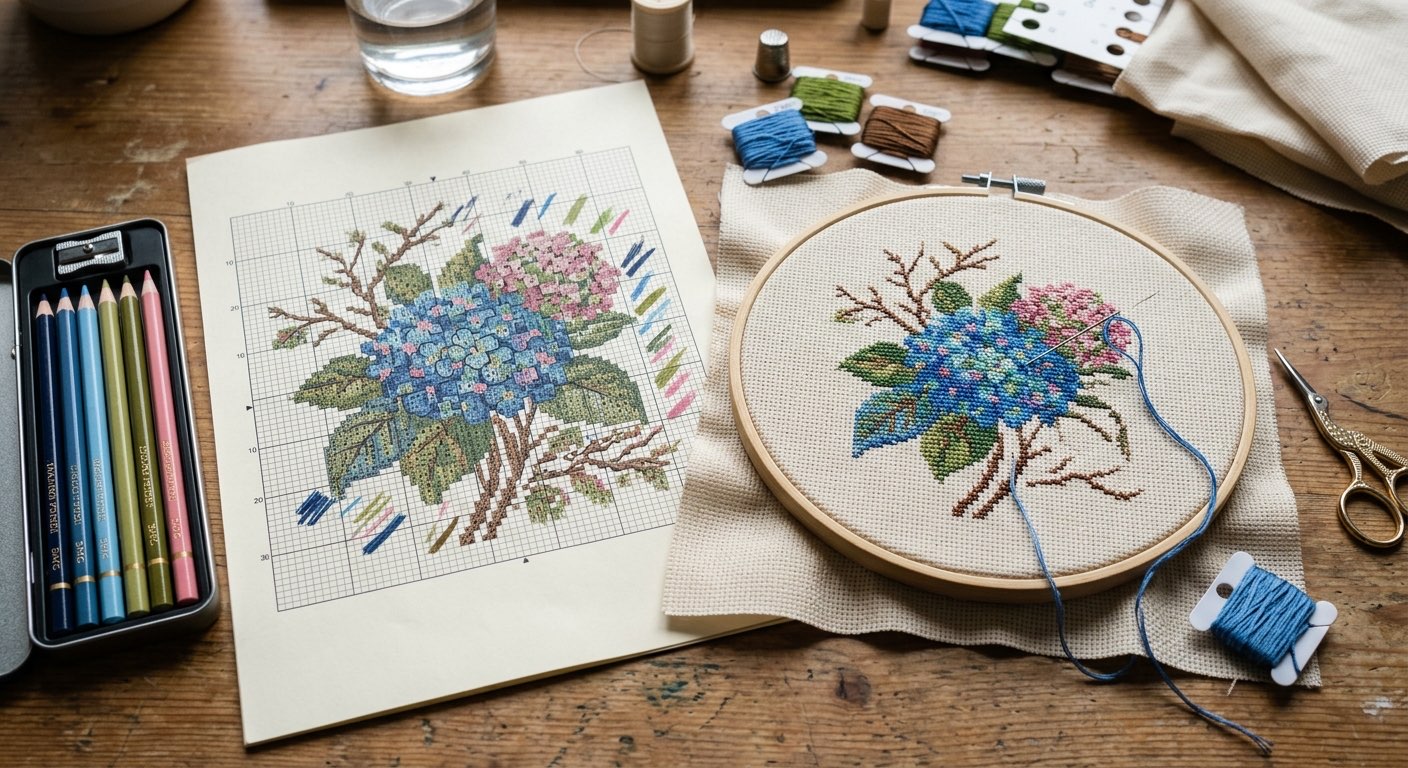
The same chart stitched on white 14-count Aida versus cream 18-count Aida produces visually different finished pieces. The thread colors interact with the fabric differently; the scale changes; the level of detail is completely different.
This is part of the appeal of the craft. A designer’s pattern is a starting point. The choices you make — fabric count and color, thread brand (DMC renders colors slightly differently than Anchor, which renders differently than Madeira), stitch count modifications — all shape the finished piece. Two stitchers can work from the same chart and produce pieces with distinct character.
Once you’ve finished a project or two and understand how the system works, exploring those variables is genuinely enjoyable. Try a design on cream Aida that you first stitched on white, and see how the palette shifts. Experiment with different blues — the blues category covers the full DMC range, and the subtle differences between shades like DMC 336 Navy Blue and DMC 311 Medium Navy Blue are much more visible once you’ve worked with both.
The pattern is the map. Where you go with it is up to you.
Disclosure: This post contains affiliate links. We may earn a small commission at no cost to you when you purchase through these links. This helps support the site and allows us to continue creating free content.